Working in series to create coherent works of art and devote yourself specifically to a theme. About the advantages of art in series and famous examples.
Working in Series: A Path to Depth and Coherence in Art
read more

Hanging artworks can be a challenge, but with the right method and a bit of guidance, it’s quite simple. One of the best methods to securely and cost-effectively hang canvases is by using wire. In this article, I’ll walk you through the step-by-step process of hanging your artworks using wire.
Using wire to hang your canvases is not only easy but also inexpensive. You only need a few materials and tools that are easy to obtain. Additionally, this method allows for a flexible and secure way to display artworks on your wall.
Before you begin, make sure you have the following tools and materials on hand:

You don’t need much to attach a wire suspension to a canvas: a few tools, wire, screws and clamps and you’re ready to go.
Using a pencil and a ruler, mark the positions for the D-rings on the back of your canvas. These should be about one-third to one-fourth of the height from the top. This height ensures that the canvas hangs stably and doesn’t tilt forward.
Slightly screw in the small screws at the marked points to create pilot holes. These pilot holes make it easier to attach the D-rings later and prevent the wood of the canvas frame from splitting.
Attach the D-rings to the pre-drilled holes with the screws. Make sure that the D-rings are angled slightly upwards. This makes hanging easier as the wire will be pointing slightly upwards later anyway. Tighten the screws so that the D-rings are secure.

Attach the D-rings to the back of the canvas at a distance of 1/3 to 1/4 from the top edge and turn them slightly upwards. In the next step, thread the wire, knot it and secure it with the clamps.
Take the wire and thread it through the D-ring from top to bottom on one side. Pass the lower end of the wire over the top and then through the D-ring again from below to create a loop. Thread the wire through this loop and pull the wire tight.
Slide a crimping sleeve onto one end of the wire and thread the other end of the wire through the terminal. Use the crimping pliers to tighten the terminal. This secures the wire in place and prevents it from coming loose.
Repeat the process on the other side of the canvas. Ensure that the wire is not too tight but also not too loose. The wire should form a gentle curve without reaching the top edge of the canvas.
Finally, use the wire cutters to trim any excess wire. Make sure no sharp ends remain that could damage the wall or the canvas.

Thread the wire through the D-rings as described above and fasten at the end with the clamps and crimping pliers. Cut off the excess ends of the wire and the artwork is ready to hang.
With this guide, you can securely and professionally hang your artworks. However, if you don’t feel like doing it yourself, I have good news for you: All my artworks in the webshop already come with a wire attached, so you can hang them directly. Take a look around and find the perfect piece of art for your home!
Share This Post
Working in series to create coherent works of art and devote yourself specifically to a theme. About the advantages of art in series and famous examples.

About online galleries and art platforms, the advantages of buying art on the web, as well as an insight into my own profile on Singulart.
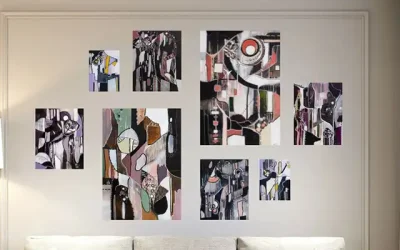
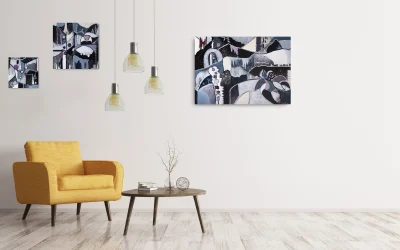
Five creative arrangement styles for artwork on your walls. Get to know different ways of hanging art and designing your walls. From classic to experimental.
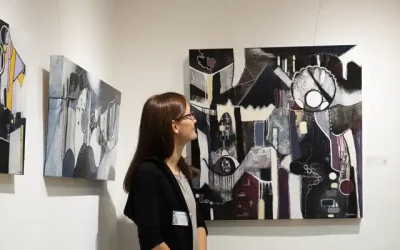
What a visit to an art fair or exhibition brings: as an artist to offer his art and as an art lover to buy exclusive works of art.

Various signs that it’s time to consider buying a work of art. When is the best time to buy art and why you might need a work of art to fulfill your wishes.
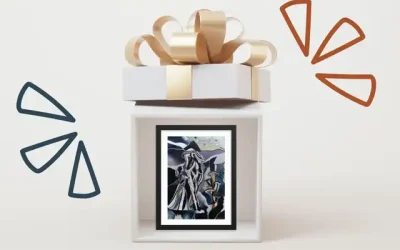
Find the perfect art to give as a gift to art-loving friends and family. Tips on how to choose a work of art to give as a gift.